0-Setup-0-Introduction
中英文对照学习,效果更佳!
原课程链接:https://huggingface.co/course/chapter0/1?fw=pt
Introduction
引言
Welcome to the Hugging Face course! This introduction will guide you through setting up a working environment. If you’re just starting the course, we recommend you first take a look at [Chapter 1], then come back and set up your environment so you can try the code yourself.
欢迎来到Hugging Face课程!本简介将指导您建立一个工作环境。如果您刚刚开始学习本课程,我们建议您先看一下第1章,然后再回来设置您的环境,这样您就可以自己尝试代码了。
All the libraries that we’ll be using in this course are available as Python packages, so here we’ll show you how to set up a Python environment and install the specific libraries you’ll need.
我们将在本课程中使用的所有库都以Python包的形式提供,因此在这里我们将向您展示如何设置一个Python环境并安装您需要的特定库。
We’ll cover two ways of setting up your working environment, using a Colab notebook or a Python virtual environment. Feel free to choose the one that resonates with you the most. For beginners, we strongly recommend that you get started by using a Colab notebook.
我们将介绍两种设置您的工作环境的方法:使用Colab笔记本电脑或使用Python虚拟环境。你可以自由选择一个最能引起你共鸣的。对于初学者,我们强烈建议您从使用Colab笔记本开始。
Note that we will not be covering the Windows system. If you’re running on Windows, we recommend following along using a Colab notebook. If you’re using a Linux distribution or macOS, you can use either approach described here.
请注意,我们不会讨论Windows系统。如果你运行的是Windows操作系统,我们建议你使用Colab笔记本进行操作。如果您使用的是Linux发行版或MacOS,则可以使用此处描述的任何一种方法。
Most of the course relies on you having a Hugging Face account. We recommend creating one now: create an account.
这门课的大部分时间都依赖于你拥有一个Hugging Face账户。我们建议现在创建一个:创建一个帐户。
Using a Google Colab notebook
使用Google Colab笔记本电脑
Using a Colab notebook is the simplest possible setup; boot up a notebook in your browser and get straight to coding!
使用Colab笔记本电脑是最简单的设置;在浏览器中启动笔记本电脑,然后直接开始编码!
If you’re not familiar with Colab, we recommend you start by following the introduction. Colab allows you to use some accelerating hardware, like GPUs or TPUs, and it is free for smaller workloads.
如果您不熟悉Colab,我们建议您从介绍开始。CoLab允许您使用一些加速硬件,如GPU或TPU,并且对于较小的工作负载是免费的。
Once you’re comfortable moving around in Colab, create a new notebook and get started with the setup:
在Colab中舒适地四处走动后,创建一个新的笔记本并开始设置:
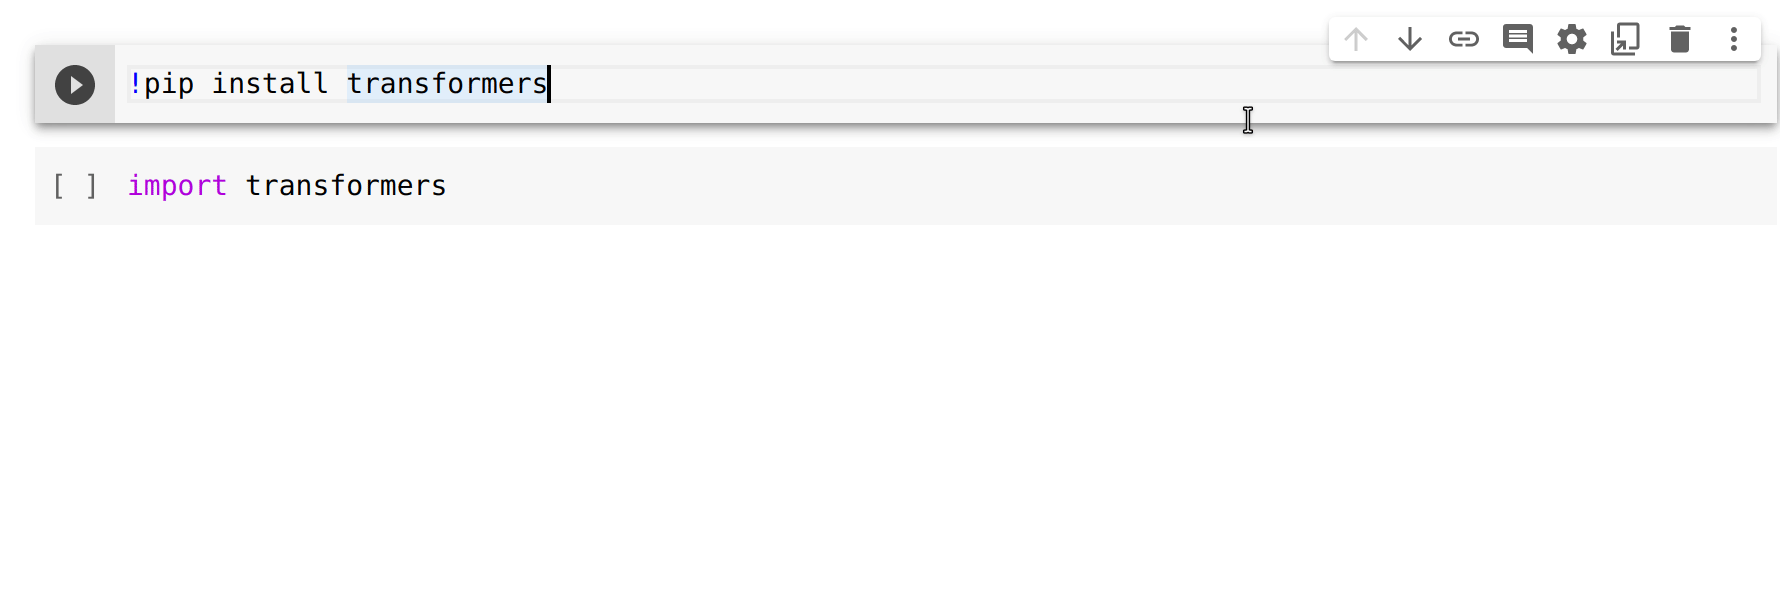
The next step is to install the libraries that we’ll be using in this course. We’ll use pip for the installation, which is the package manager for Python. In notebooks, you can run system commands by preceding them with the ! character, so you can install the 🤗 Transformers library as follows:
一个空的CoLab笔记本下一步是安装我们将在本课程中使用的库。我们将使用pi进行安装,它是Python的包管理器。在笔记本电脑中,您可以通过在系统命令前面加上!字符来运行系统命令,因此您可以按如下方式安装🤗Transformers库:
1 | |
You can make sure the package was correctly installed by importing it within your Python runtime:
您可以通过在您的Python运行时中导入该程序包来确保它已正确安装:
1 | |
This installs a very light version of 🤗 Transformers. In particular, no specific machine learning frameworks (like PyTorch or TensorFlow) are installed. Since we’ll be using a lot of different features of the library, we recommend installing the development version, which comes with all the required dependencies for pretty much any imaginable use case:
显示上述两个命令的结果的gif:安装和导入这将安装非常轻量级的🤗Transformers版本。特别是,没有安装特定的机器学习框架(如PyTorch或TensorFlow)。由于我们将使用库的许多不同功能,因此我们建议安装开发版本,该版本提供了几乎任何可以想象到的用例所需的所有依赖项:
1 | |
This will take a bit of time, but then you’ll be ready to go for the rest of the course!
这将需要一些时间,但之后您将准备好继续学习本课程的其余部分!
Using a Python virtual environment
使用Python虚拟环境
If you prefer to use a Python virtual environment, the first step is to install Python on your system. We recommend following this guide to get started.
如果您更喜欢使用Python虚拟环境,第一步是在您的系统上安装Python。我们建议您按照本指南开始使用。
Once you have Python installed, you should be able to run Python commands in your terminal. You can start by running the following command to ensure that it is correctly installed before proceeding to the next steps: python --version. This should print out the Python version now available on your system.
一旦安装了Python,您就应该能够在您的终端中运行Python命令。您可以先运行以下命令以确保安装正确,然后再继续下一步:python--version。这应该会打印出您的系统上现在可用的Python版本。
When running a Python command in your terminal, such as python --version, you should think of the program running your command as the “main” Python on your system. We recommend keeping this main installation free of any packages, and using it to create separate environments for each application you work on — this way, each application can have its own dependencies and packages, and you won’t need to worry about potential compatibility issues with other applications.
当在您的终端上运行一个Python命令时,例如python--version,您应该将运行您的命令的程序视为您系统上的“主”Python。我们建议保留主安装没有任何包,并使用它为您使用的每个应用程序创建单独的环境-这样,每个应用程序都可以有它自己的依赖项和包,并且您不需要担心与其他应用程序的潜在兼容性问题。
In Python this is done with virtual environments, which are self-contained directory trees that each contain a Python installation with a particular Python version alongside all the packages the application needs. Creating such a virtual environment can be done with a number of different tools, but we’ll use the official Python package for that purpose, which is called venv.
在Python中,这是通过虚拟环境完成的,虚拟环境是自包含的目录树,每个目录树都包含一个具有特定Python版本的Python安装,以及应用程序需要的所有包。创建这样的虚拟环境可以使用许多不同的工具,但我们将使用官方的Python包来实现这一目的,它被称为venv。
First, create the directory you’d like your application to live in — for example, you might want to make a new directory called transformers-course at the root of your home directory:
首先,创建您希望应用程序所在的目录–例如,您可能希望在您的主目录的根目录下创建一个名为Transers的新目录:
1 | |
From inside this directory, create a virtual environment using the Python venv module:
在该目录中,使用Pythonvenv模块创建一个虚拟环境:
1 | |
You should now have a directory called .env in your otherwise empty folder:
现在,您的空文件夹中应该有一个名为.env的目录:
1 | |
1 | |
You can jump in and out of your virtual environment with the activate and deactivate scripts:
您可以使用激活和停用脚本跳入和跳出您的虚拟环境:
1 | |
You can make sure that the environment is activated by running the which python command: if it points to the virtual environment, then you have successfully activated it!
您可以通过运行哪个python命令来确保环境被激活:如果它指向虚拟环境,则您已经成功激活了它!
1 | |
1 | |
Installing dependencies
安装依赖项
As in the previous section on using Google Colab instances, you’ll now need to install the packages required to continue. Again, you can install the development version of 🤗 Transformers using the pip package manager:
与上一节有关使用Google Colab实例的内容一样,您现在需要安装继续操作所需的程序包。同样,您可以使用🤗包管理器安装管道Transformer的开发版本:
1 | |
You’re now all set up and ready to go!
您现在已经准备好了,可以出发了!